Technology

5 min
Embark on your iOS app development journey with our comprehensive and easy-to-follow step-by-step guide! From concept to App Store success, discover expert tips, essential tools, and unleash your creativity in crafting top-notch iOS apps that captivate users worldwide.

By Vinamra Singh
25 Jul, 2023
In today's fast-paced and technology-driven world, iOS app development has become a cornerstone of business growth and innovation. With millions of users using iOS devices worldwide, creating a successful app for this platform can open doors to tremendous opportunities.
This comprehensive step-by-step guide will walk you through the entire iOS app development process, from the inception of your idea to the deployment of a fully functional and user-friendly application.
Read More:- Top iOS App Development Company in India
Embarking on the journey of learning iOS app development may seem challenging, but it's also incredibly enjoyable, thrilling, and fulfilling! By the end of this guide, you'll have a clear step-by-step plan to create your own iOS app. Whether you're a complete beginner or have no prior coding experience, fear not – we'll guide you every step of the way. Get ready to unleash your creativity and build something amazing!
So let's get started...
Every successful app begins with a solid and unique idea. The first step in iOS app development is to define your app's concept. Conduct extensive market research to understand existing apps in your chosen niche and identify user needs and pain points. This research will help you shape your app idea and determine what differentiates it.
While brainstorming, consider the potential target audience, app objectives, and revenue model. Ask yourself the following questions:
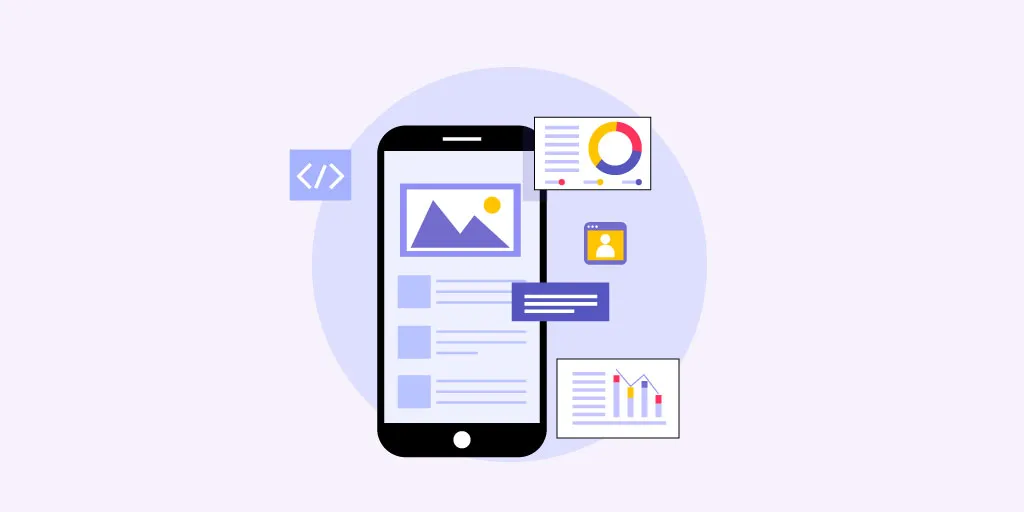 With a clear app idea in mind, it's time to start the design and planning process. Create wireframes and prototype your app's user interface (UI) using tools like Sketch, Figma, or Adobe XD. These visual representations will help you better understand the app's flow and user interactions. For better results, consider the below points.
Create an intuitive and aesthetically pleasing UI during the design phase that aligns with your brand's identity. Consider the overall user experience (UX) to ensure your app is user-friendly & easy to navigate. Engage with potential users and gather feedback on the initial designs to make necessary improvements.
Note:- Create a comprehensive project plan that includes milestones, deadlines, and resource allocation.
To develop iOS apps, you'll need a Mac computer with Xcode, Apple's integrated development environment (IDE). Xcode is an essential tool for iOS app development, as it provides the necessary features and resources to build, test, and debug your app.
Now, it's time to Install Xcode from the Mac App Store and familiarize yourself with its features and functionalities. Explore the different components of the IDE, such as the code editor, Interface Builder, and debugging tools, to streamline your development process.
 iOS apps can be developed using two primary programming languages: Swift and Objective-C. Swift, introduced by Apple in 2014, has quickly gained popularity due to its modern syntax, enhanced performance, and safety features. For beginners and most new app development projects, Swift is recommended.
On the other hand, Objective-C, the older and more established language, is still used for legacy projects and is compatible with older iOS versions. If you have prior experience with Objective-C or need to work on an existing project, this language might be the better choice.
Note: - Choose the programming language that aligns with your project's requirements, team expertise, and long-term vision.
Read More:- Programming Languages For Mobile App Development - Quokka Labs
With your development environment set up and the programming language selected, it's time to dive into coding your app. Begin by implementing the core functionality and features outlined in your project plan. Divide the development process into smaller tasks and tackle them one by one. Regularly test your code to identify and resolve any bugs or issues that may arise during development.
To maintain clean and organized code, follow best practices and design patterns like Model-View-Controller (MVC) or Model-View-ViewModel (MVVM). Additionally, leverage Swift's powerful features, such as optional and type inference, to write safer and more efficient code.
With the back-end functionality in place, it's time to integrate the finalized UI design with the codebase. Ensure your app's UI is visually appealing and aligned with the user experience you envisioned during the design phase. Pay close attention to creating an intuitive, user-friendly interface that resonates with your target audience.
Optimize your app's UI for iOS devices, including iPhones and iPads, by adopting responsive design principles. Test the app on various screen sizes and orientations to ensure a seamless experience for all users.

Thorough testing is paramount to delivering a stable and bug-free app. Before submitting your app to the App Store, conduct comprehensive testing to identify and resolve any issues. The testing phase should include the following:
Note:- Continuous testing throughout development helps catch and address issues early on, reducing the likelihood of critical bugs reaching your users.
Before submitting your app to the Apple App Store, ensure it complies with Apple's guidelines and policies. Familiarize yourself with the App Store Review & Human Interface Guidelines covering app functionality, design, content, and security requirements.
Pay particular attention to guidelines related to user privacy, data security, and accessibility. Non-compliance with these guidelines can result in app rejection or removal from the App Store.
With your app thoroughly tested and compliant with the App Store guidelines, you're ready to prepare for the submission process. Gather all the necessary assets, such as app icons, screenshots, and promotional materials. If you haven't already, create an Apple Developer account, and follow the process to enroll in the Apple Developer Program.
Generate the necessary certificates and profiles for app signing to ensure secure and legitimate distribution. Take the time to craft an engaging app description and create a compelling app preview video to entice potential users.
With all preparations complete, it's time to submit your app to the App Store for review. Remember that the review process may take some time as Apple rigorously examines apps to ensure they meet quality standards and adhere to their guidelines.
Be patient and responsive to any App Store review team queries or feedback. If required, address any issues promptly and resubmit your app for review.
Once your app is approved and live on the App Store, it's time for the exciting part: The Launch! The success of your app depends not only on its quality but also on how effectively you market it to your target audience.
Plan a comprehensive marketing strategy to create buzz and attract users. Utilize social media platforms, content marketing, and app preview videos to showcase your app's features and benefits. Consider offering promotional discounts or collaborating with influencers to boost visibility.
Note:- App Store Optimization (ASO) is essential to increase your app's discoverability within the App Store. Use relevant keywords, captivating app descriptions, and appealing visuals to optimize your app's listing.
The journey continues after the app launch. Monitor your app's performance closely using analytics tools. Gather user feedback through app reviews, customer support, and surveys to identify areas of improvement and gather insights for future updates. Engaging with your user base and responding to their needs will foster loyalty and enhance user retention.
Regularly release updates to fix bugs, enhance existing features, and introduce new functionalities. Staying up-to-date with the latest iOS versions and hardware changes is vital to ensure your app remains compatible and delivers an optimal user experience
That’s it! You can now confidently navigate the entire iOS app development process by following the above comprehensive step-by-step guide.
Explore More- How to Hire Dedicated iOS Developer in 2024
iOS app development is an exciting and rewarding journey that demands creativity, technical prowess, and perseverance. Remember to prioritize user experience, adhere to Apple's guidelines, and invest in marketing efforts to reach your target audience effectively.
Embrace challenges, stay updated with the latest trends, and keep innovating to stand out in the dynamic world of iOS app development. With dedication and a well-executed plan, your iOS app has the potential to become a popular and profitable venture in the competitive world of mobile applications.
Good luck, and keep building. Thanks!!!
Read More: - A Step-by-Step Guide to Mobile App Development Process
On-Demand Application Development: Architecture, Use Cases, and Business Models
By Sannidhya Sharma
5 min read
How Much Does Food Delivery App Development Cost? Features, Tech & Budget Explained
By Dhruv Joshi
5 min read
How to Make an App Like DoorDash: Product Strategy, Tech Stack, and Real Costs
By Dhruv Joshi
5 min read
React Native Authentication: Secure Login, OAuth with PKCE & Token Storage Best Practices (2026)
By Dhruv Joshi
5 min read
Technology

5 min
Secure React Native authentication with practical steps for safe login, OAuth, and identity protection. This guide covers React native app auth options, React native oauth with PKCE, token storage, session rules, MFA, biometrics, and release checks. Learn common mistakes, proven patterns, and a reusable checklist to ship with confidence.

Technology

5 min
Protect your mobile product with practical react native security steps for 2026. This guide covers common risks, secure storage, safer API calls, token handling, dependency checks, and secure release workflows. Learn react security best practices and react native best practices that reduce data leaks, prevent tampering, and improve user trust.

Technology

5 min
Discover how to boost React Native performance with this in-depth guide. Learn practical React Native performance optimization techniques, must-have performance tools, real-world benchmarks, and monitoring workflows to keep apps smooth, fast, and stable in production. See how to measure, debug, and improve React Native app performance step by step, reduce crashes, and deliver better mobile experiences across iOS and Android while keeping development costs and efforts under control.


Feeling lost!! Book a slot and get answers to all your industry-relevant doubts